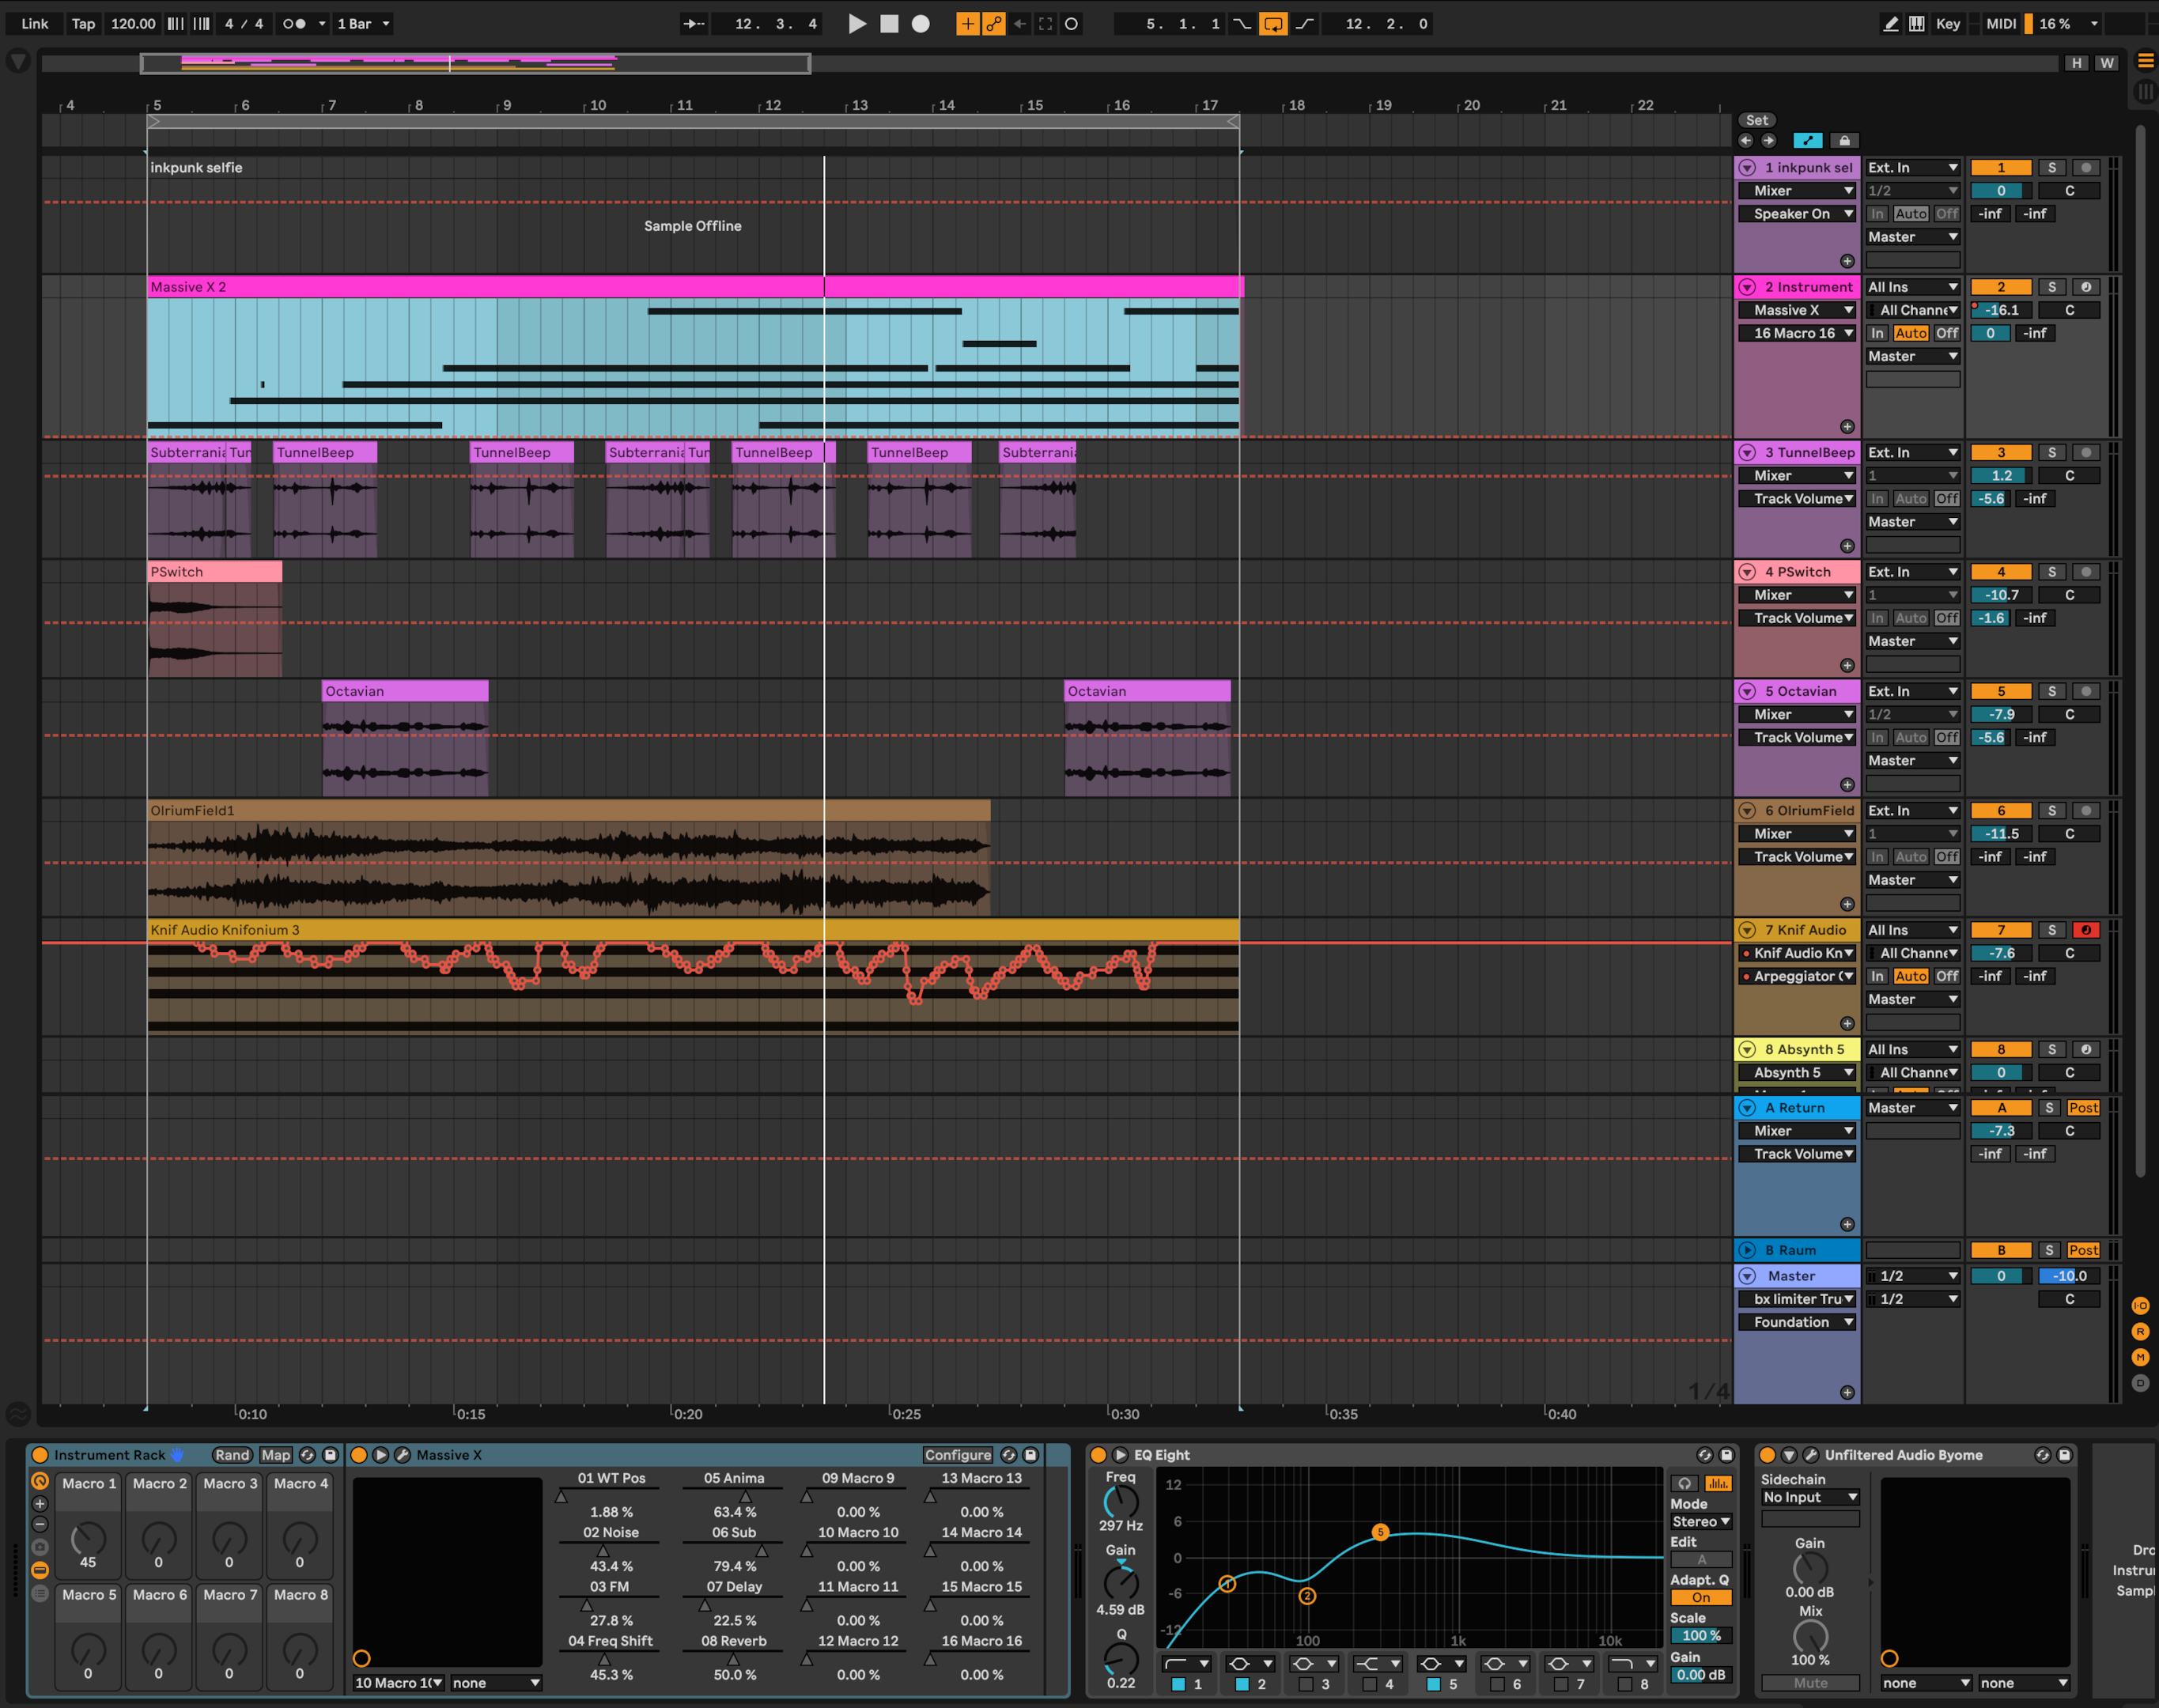
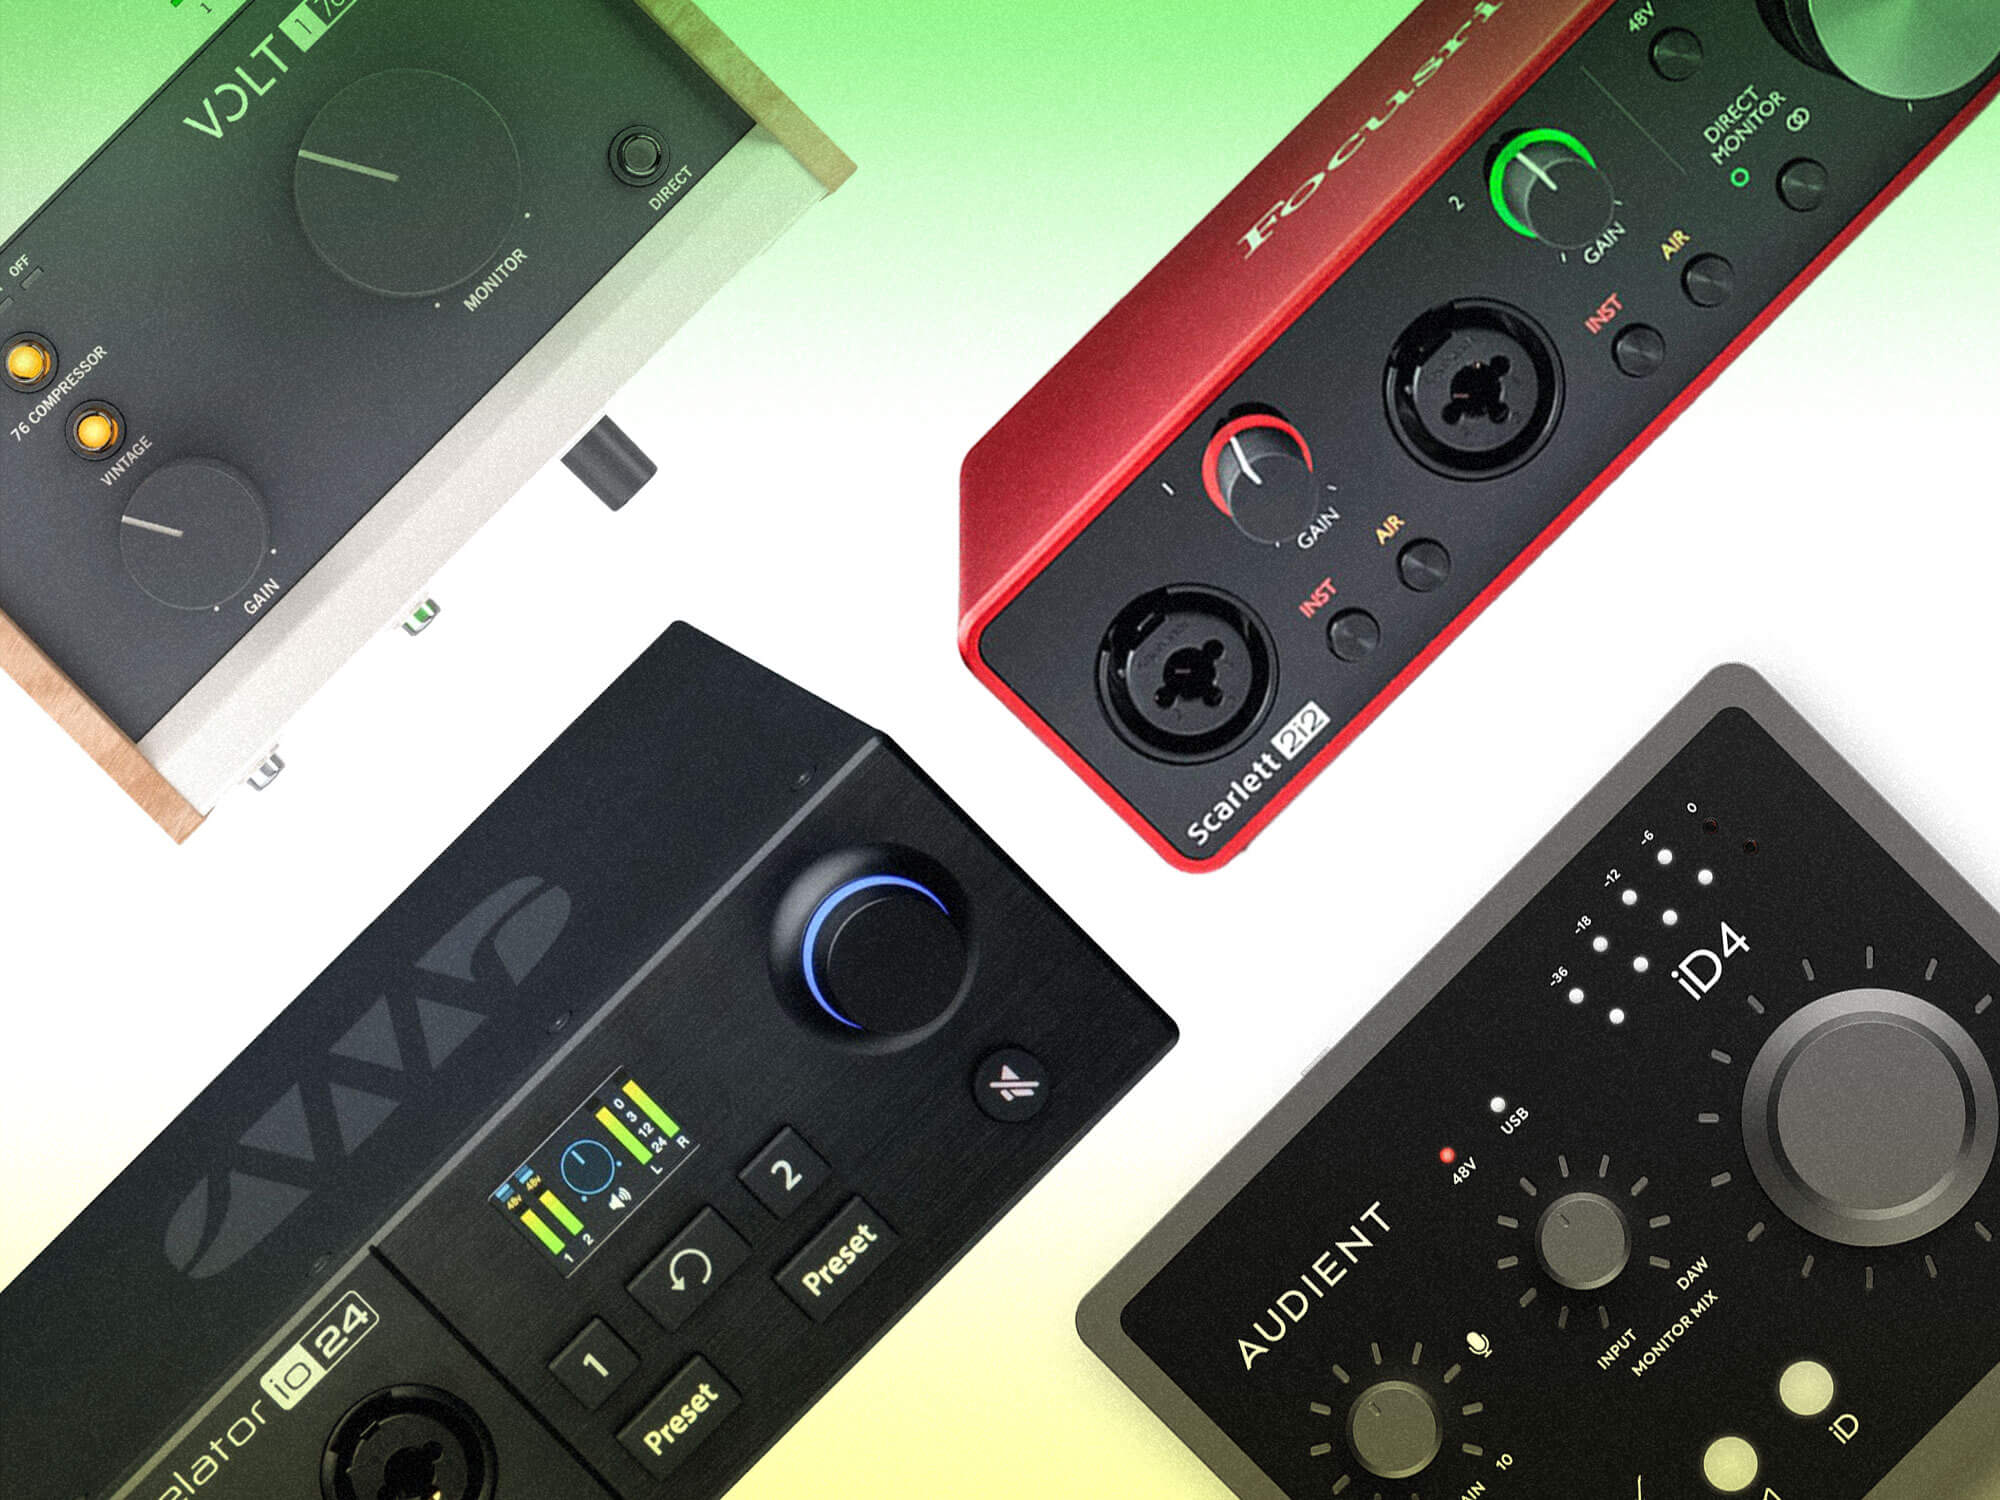
The Ultimate Guide To Configuring An Audio Interface On Your Desk When setting up a home recording studio, one of the most crucial components is an audio interface, and configuring it properly can make all the difference in your audio quality. Placing your audio interface on your desk can be a great way to get started, but it's not just about slapping it down anywhere - you need to get it set up just right to get the best possible sound. A well-configured audio interface will allow you to connect your microphones, instruments, and other gear, while also providing a clean and stable signal path to your computer. Discover The Secret To A Successful Content Creator's Workspace
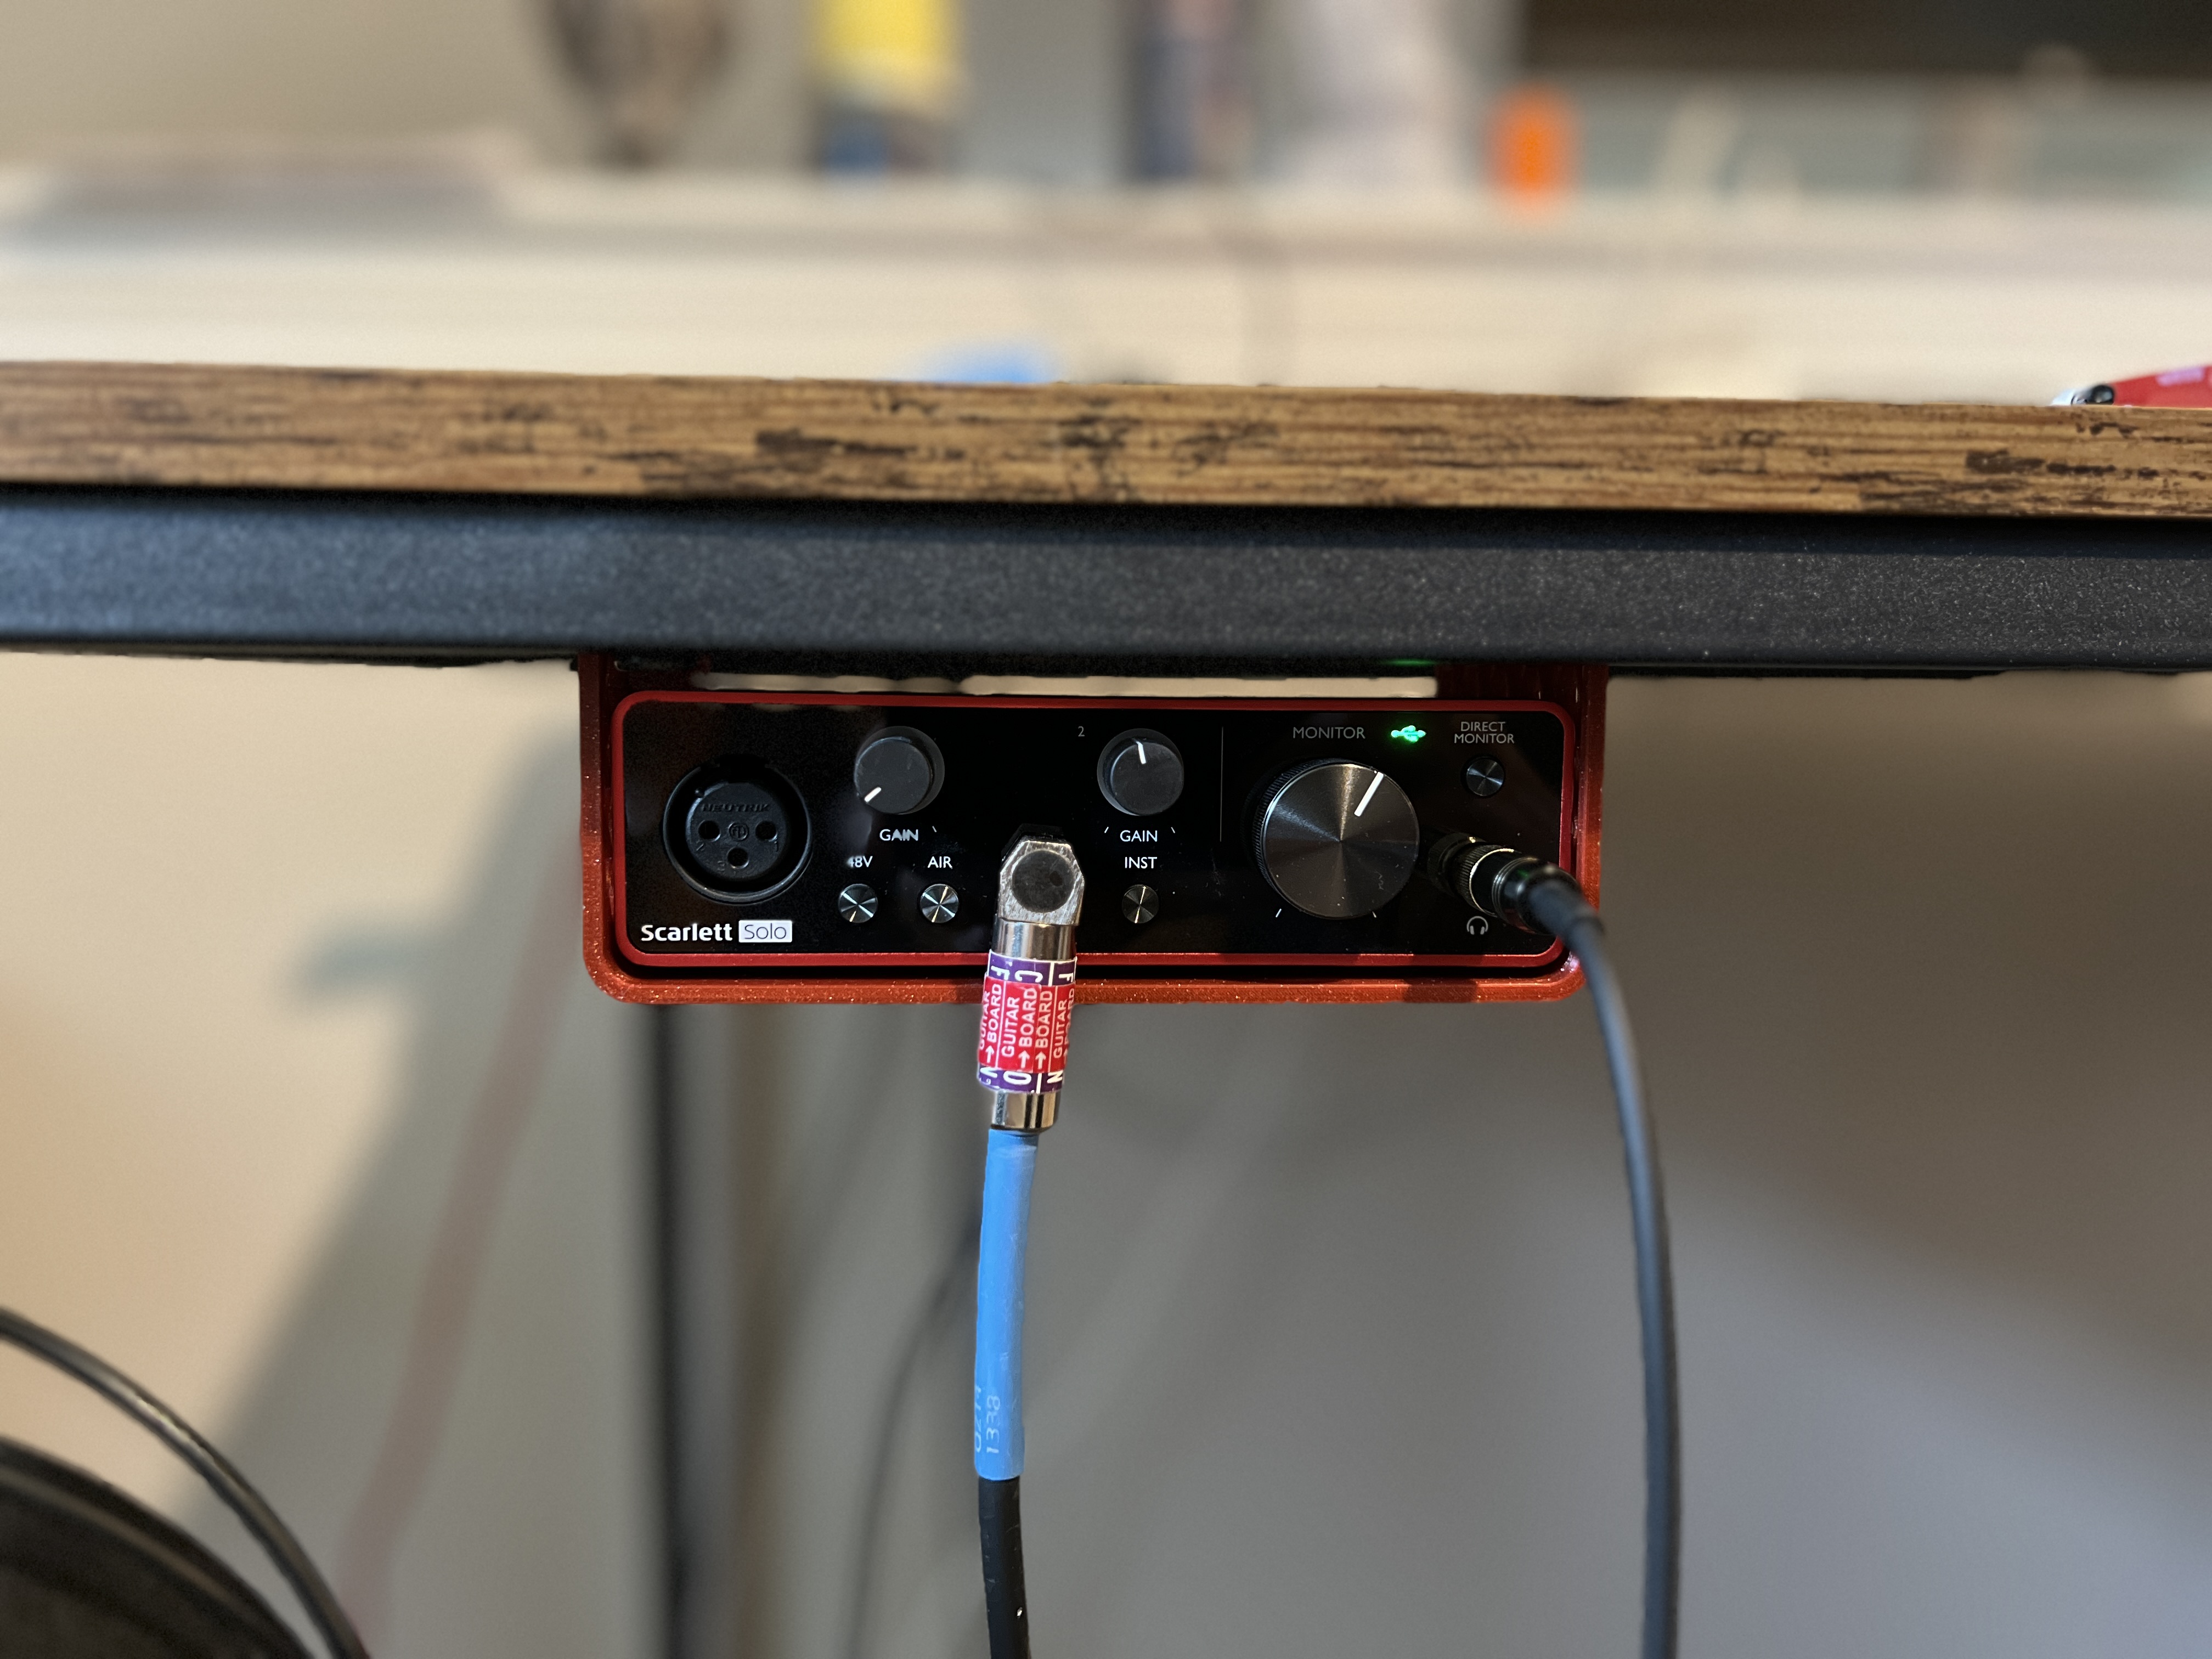
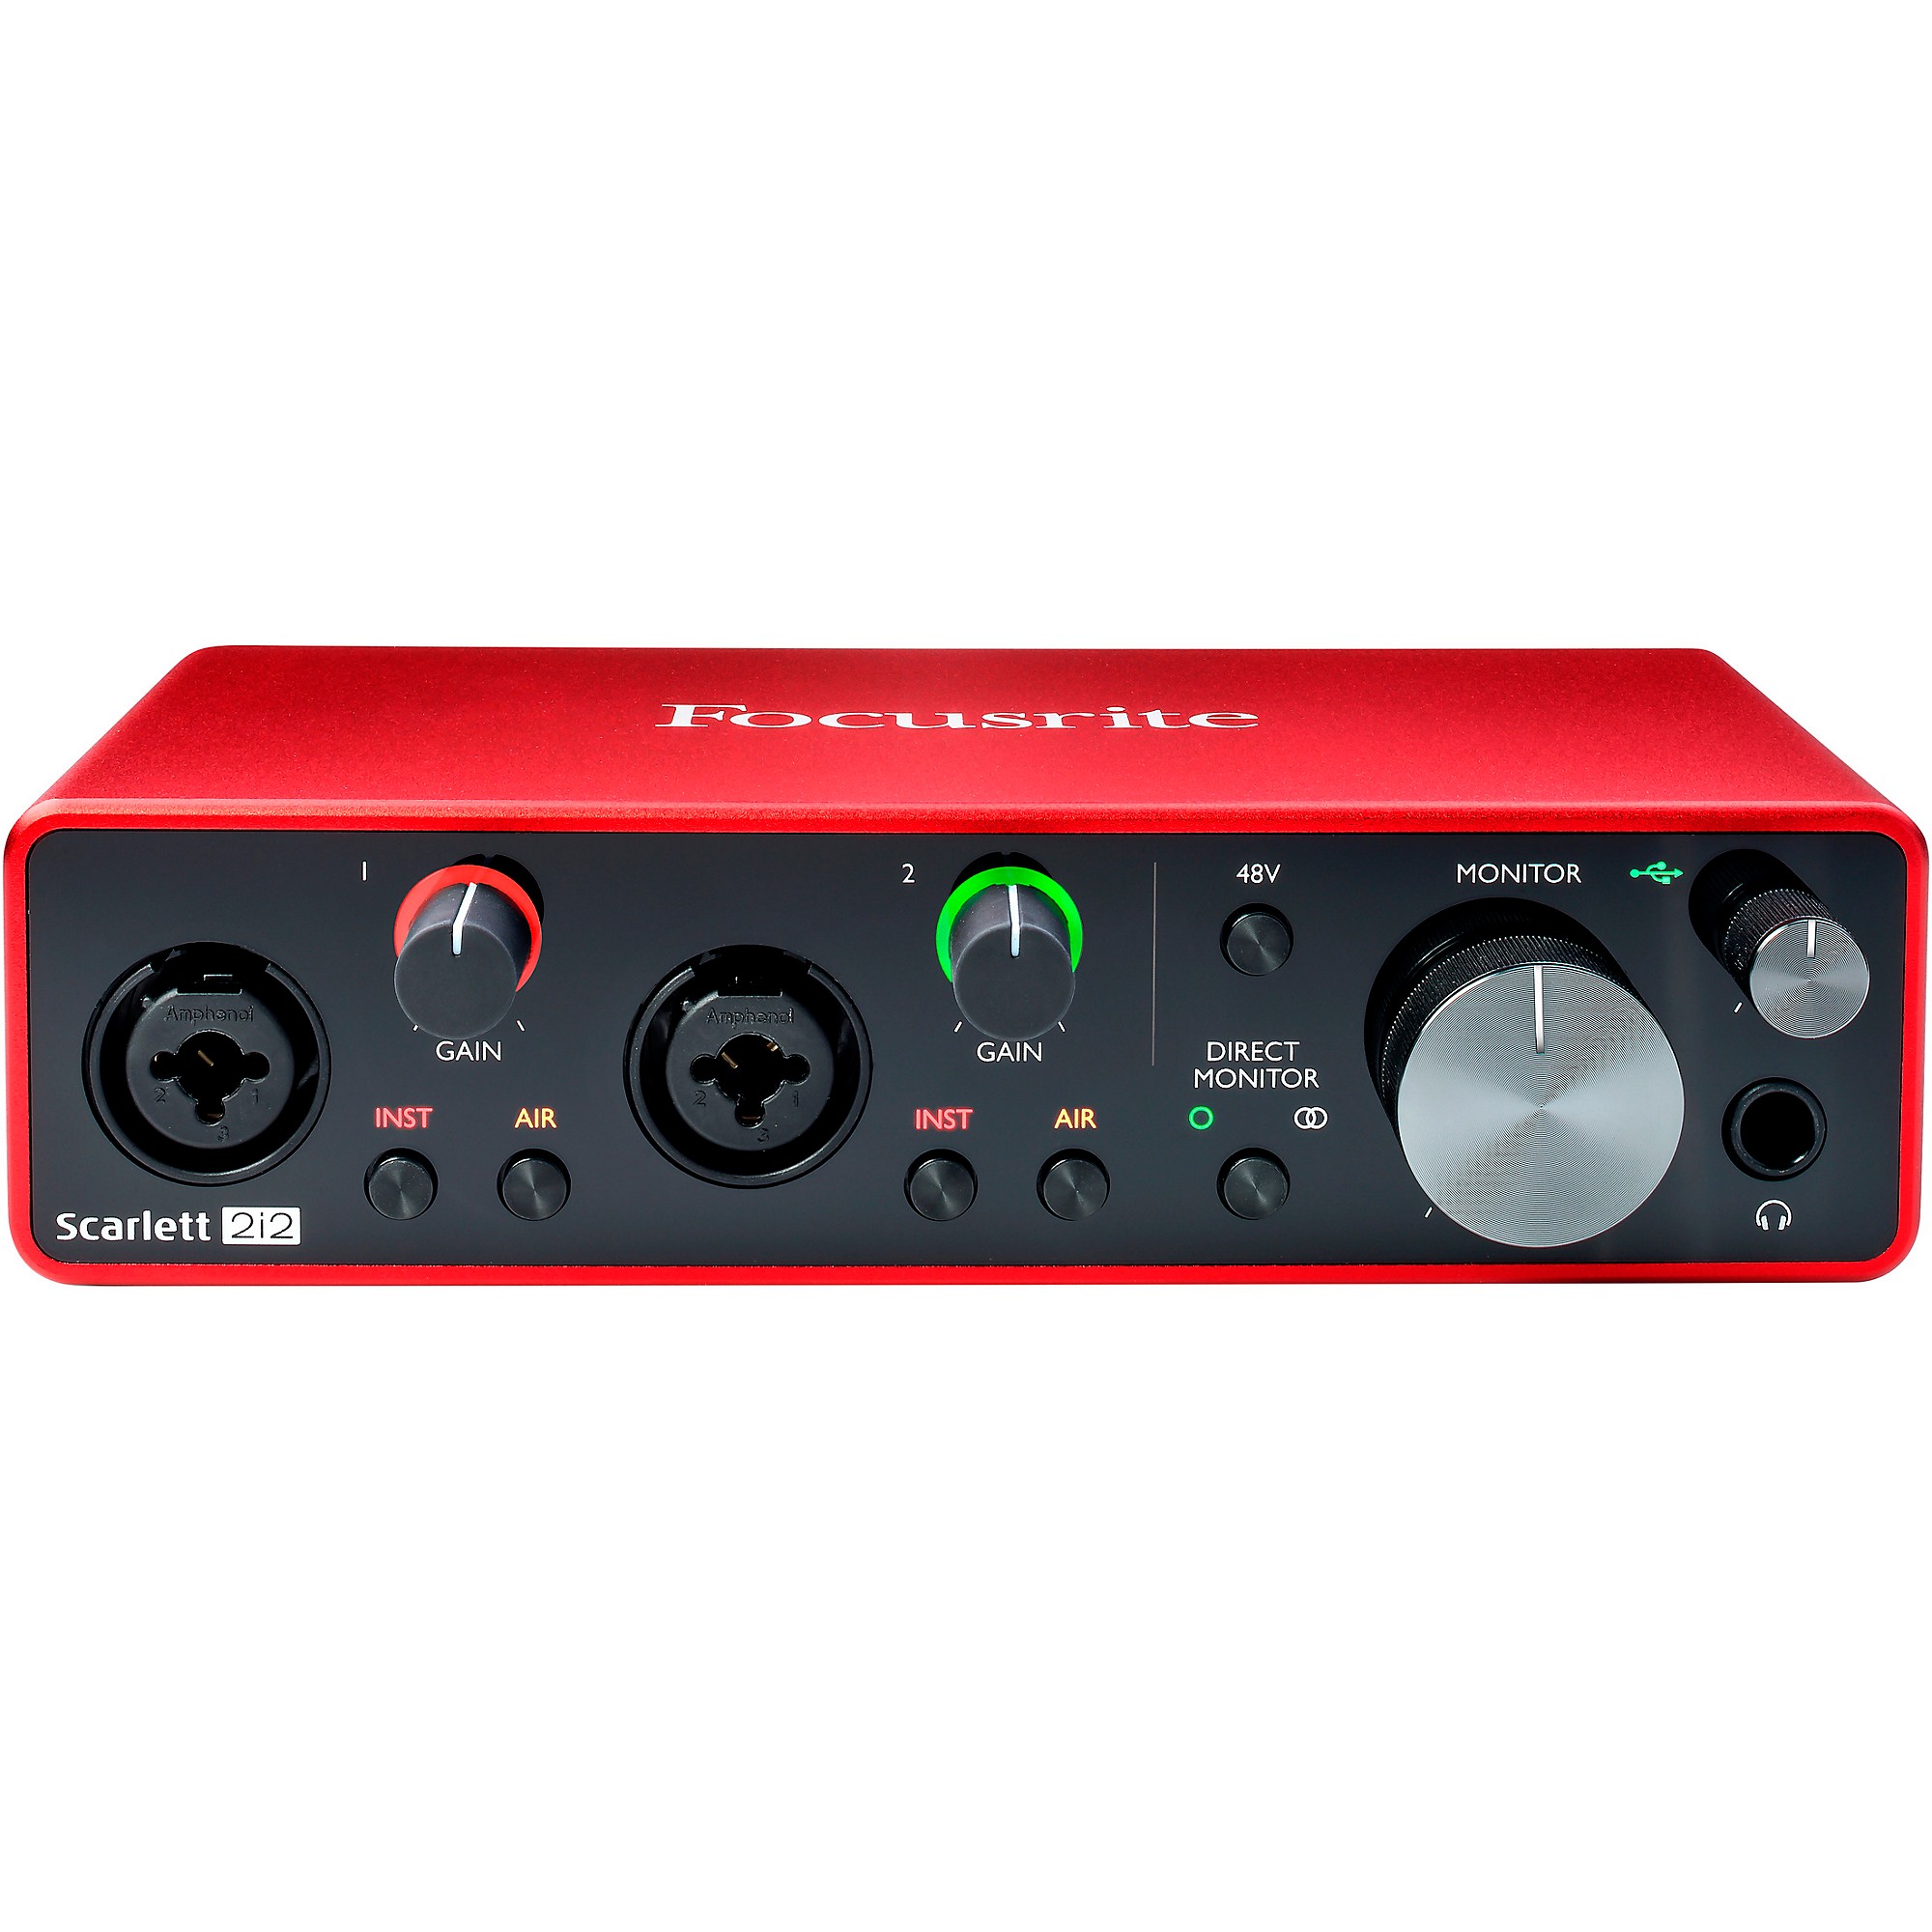
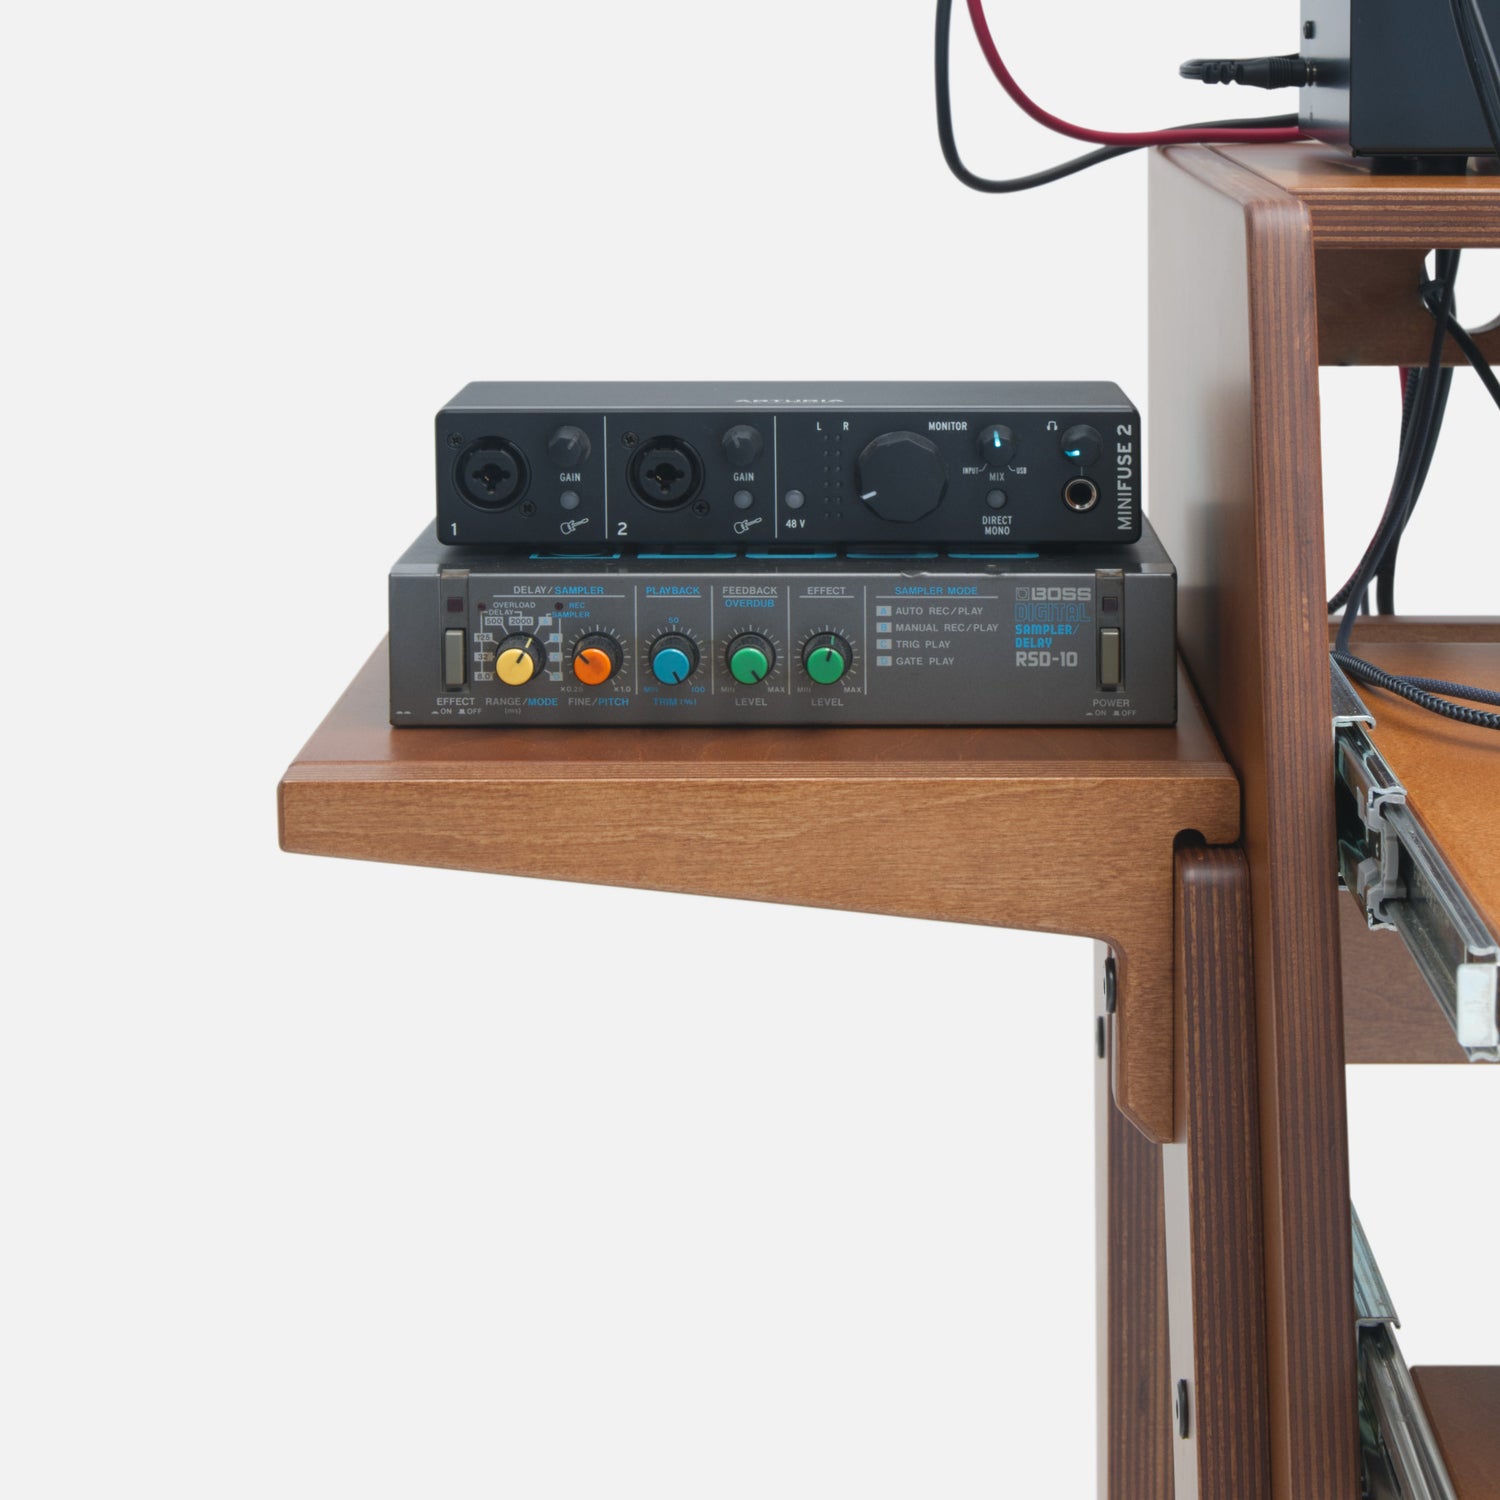
To start, make sure your audio interface is securely fastened to your desk using a cable management system or a dedicated mounting bracket. This will help keep your workspace organized and prevent any accidental disconnections or tripping hazards. Next, connect your audio interface to your computer via a high-quality USB cable, taking care to ensure the cable is securely seated in both the interface and the computer. It's also essential to configure the audio interface's drivers and settings to match your computer's operating system and sound card.
Proper cable management is also crucial when configuring an audio interface on your desk. Content Creation On A Whole New Level: Pro Tips For Your Desk Use high-quality XLR cables to connect your microphones to the interface, and make sure they're securely attached to prevent any signal loss or hum. If you're using a mixer or preamp, connect it to the audio interface using TRS or XLR cables, taking care to match the signal levels and impedance. By following these simple steps, you can ensure a stable and high-quality audio signal, and get the best possible sound from your audio interface.
With a well-configured interface, you'll be able to record crisp and clear audio, and produce professional-sounding tracks that will elevate your music or voiceovers to the next level.