Improve Sound Quality With This Audio Interface Desk Setup Tutorial When you're in the studio or setting up your home recording space, having a reliable audio interface desk setup is crucial for capturing high-quality recordings. However, getting the setup right can be a daunting task, especially for those who are new to audio production. In this tutorial, we'll walk you through the steps to create an optimal audio interface desk setup that will improve your sound quality and take your recordings to the next level. The Best Audio Interface Desk Setup For Musicians And Producers
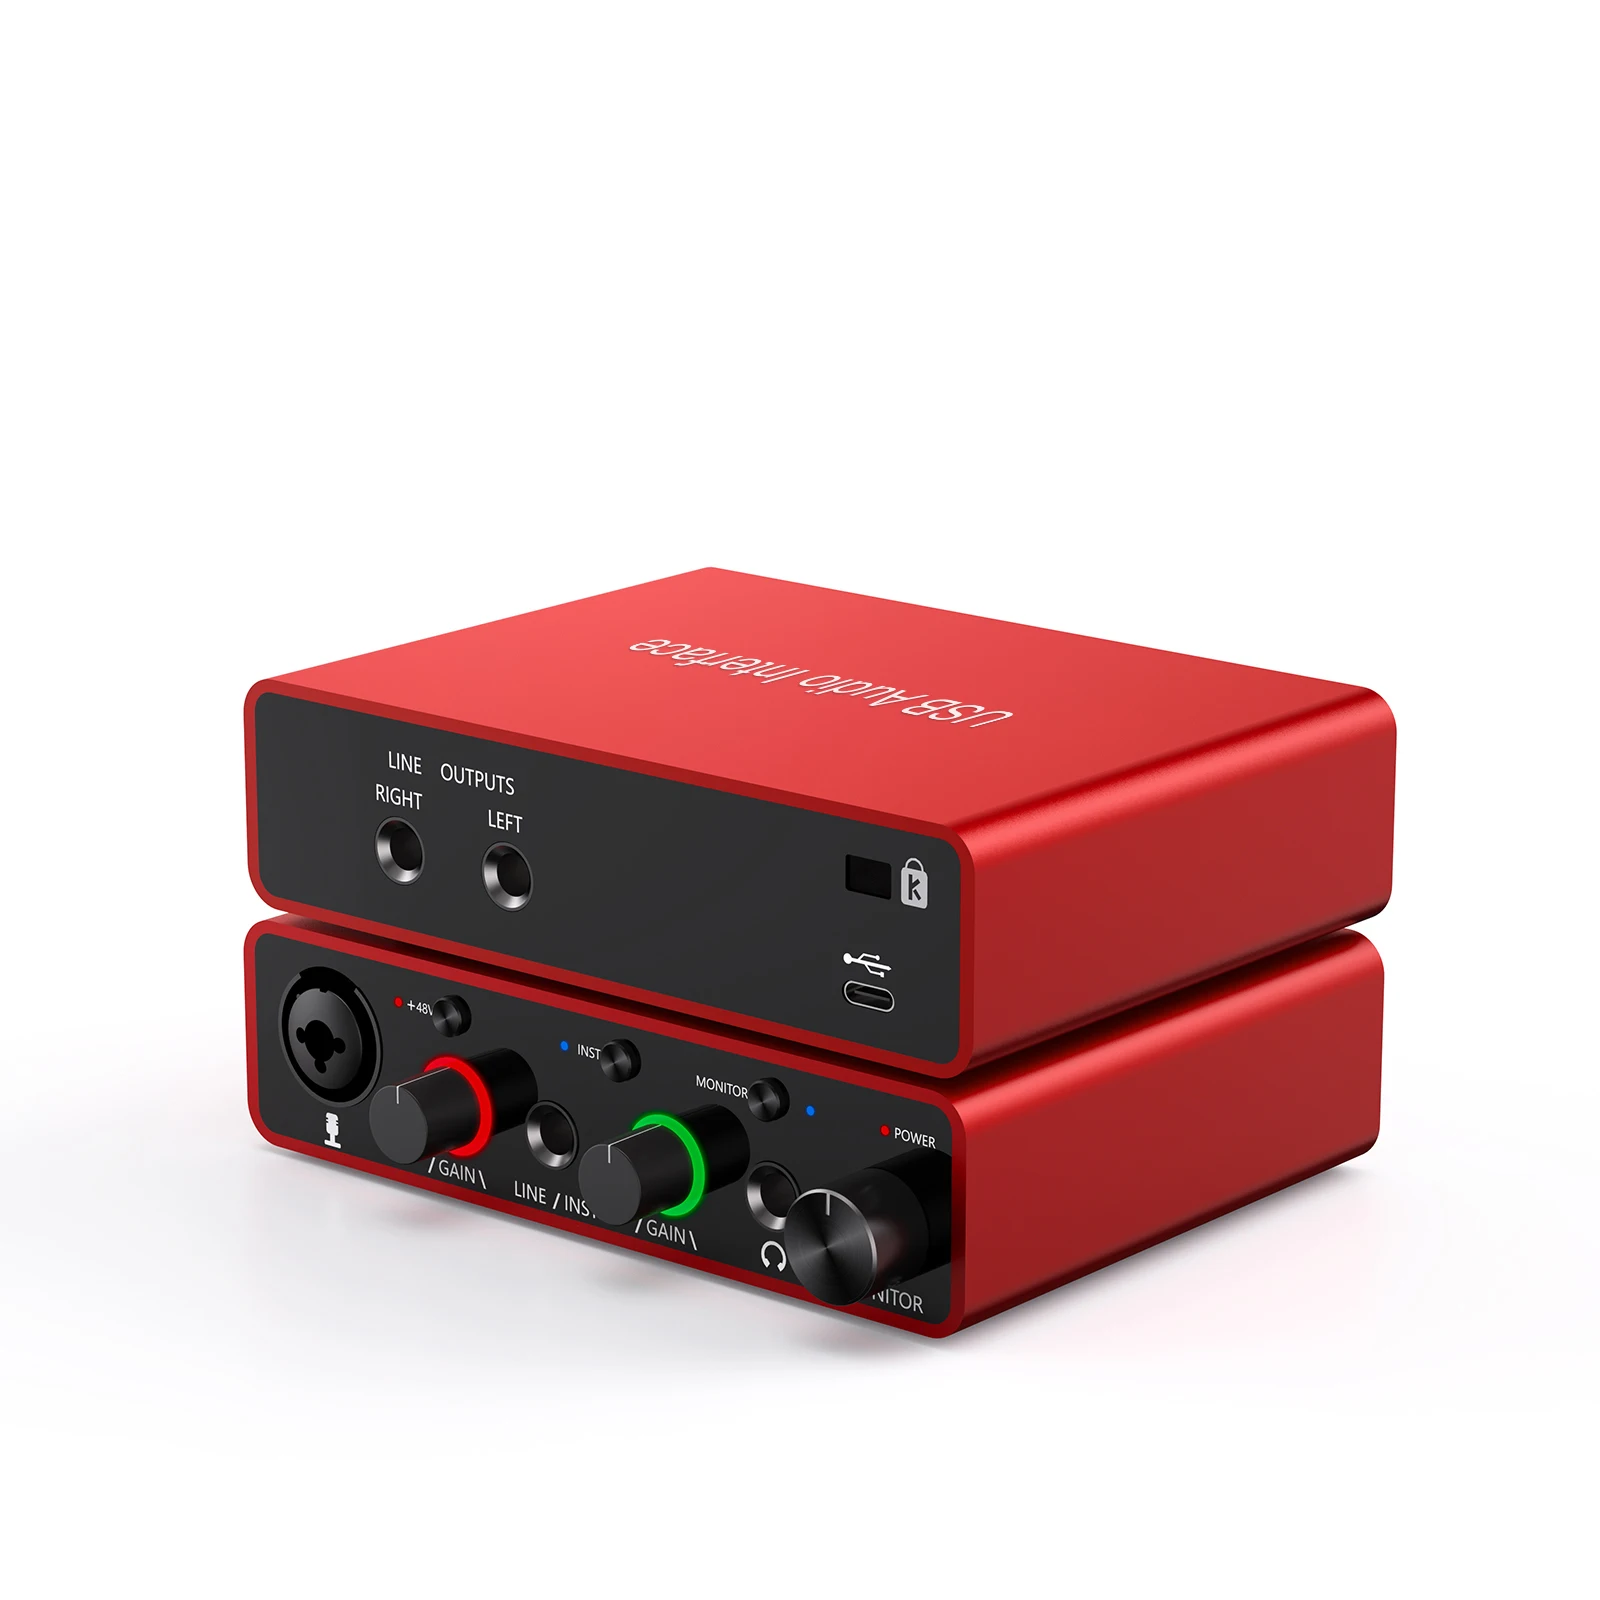
The key to a great audio interface desk setup is to ensure that your equipment is properly connected and organized. Start by placing your audio interface at the center of your desk, with your monitor speakers positioned directly in front of it. This will allow you to easily make adjustments to your levels and settings without having to get up from your chair. Next, connect your microphone to the audio interface using a high-quality XLR cable, and make sure to set the input gain to the correct level to avoid distortion.
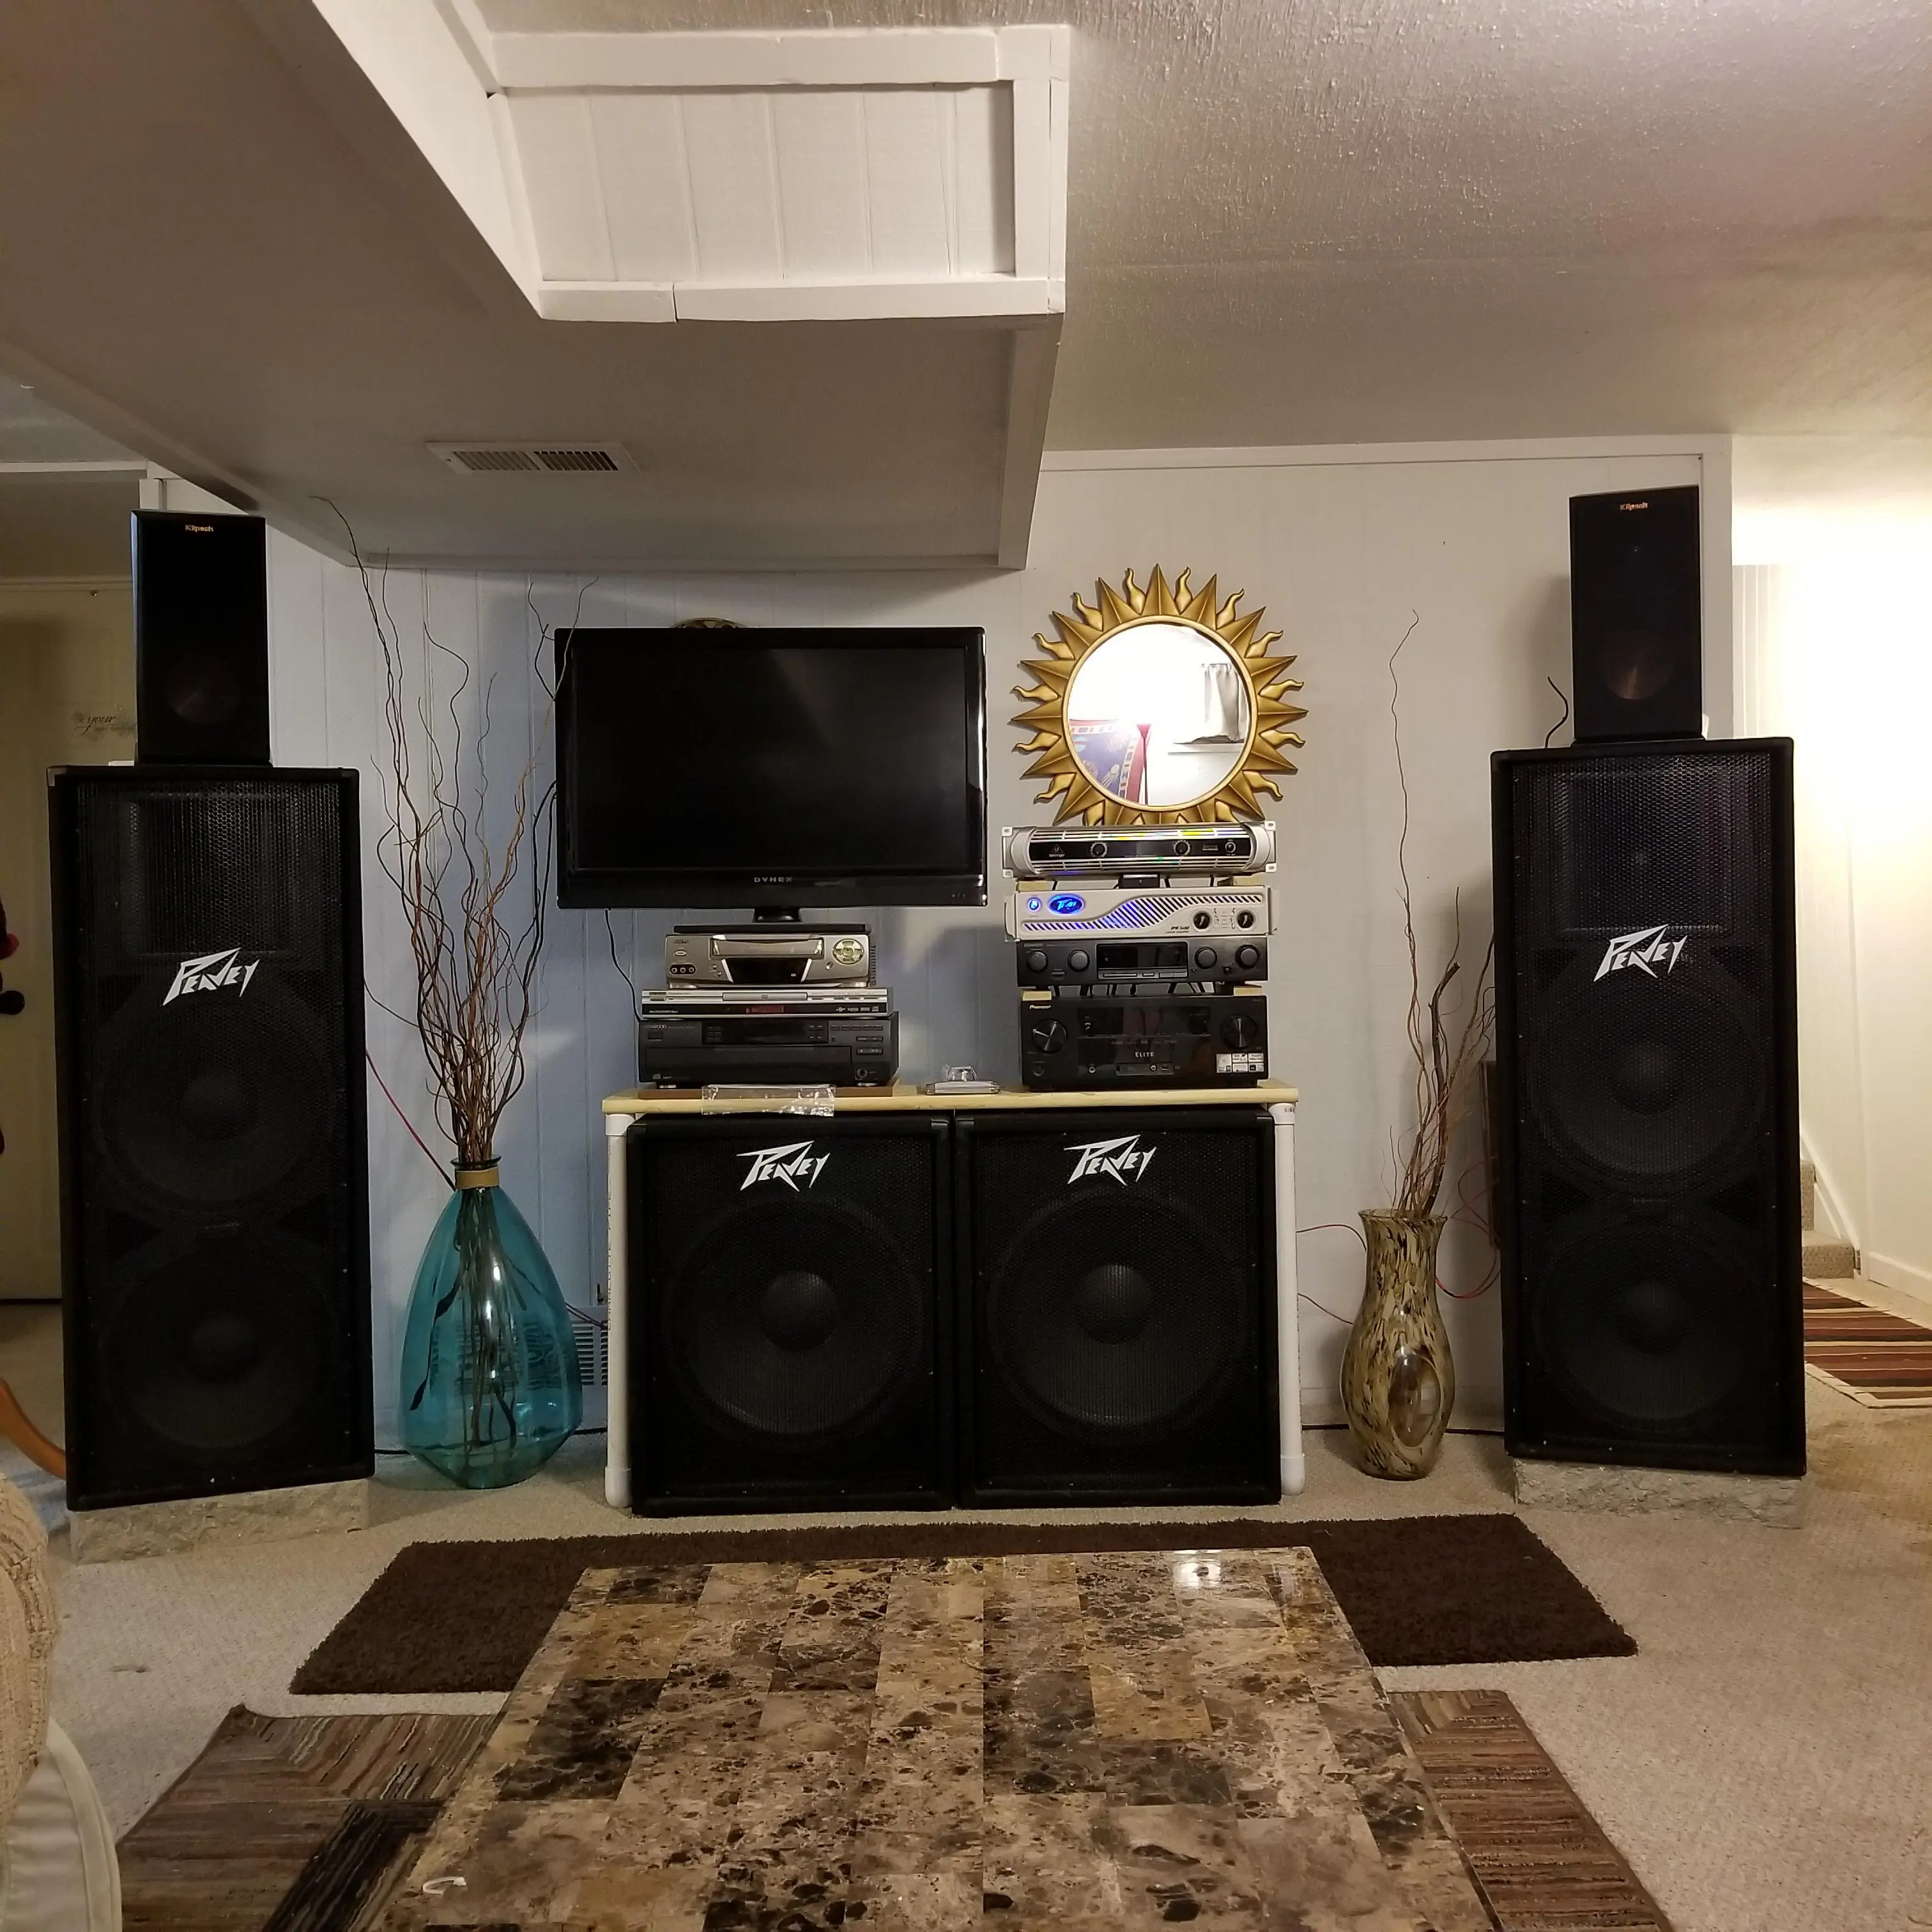
In addition to your audio interface and microphone, you'll also need to consider the acoustics of your recording space. Organized Audio Interface Desk Layout For Increased Productivity A well-designed acoustic treatment can make a huge difference in the quality of your recordings, so be sure to invest in some acoustic panels or use DIY solutions like Owens Corning 703. By taking the time to set up your audio interface desk correctly and treating your space acoustically, you'll be able to capture high-quality recordings that will impress even the most discerning ears. By following these simple steps, you'll be able to create an audio interface desk setup that will improve your sound quality and help you produce professional-sounding recordings.
Whether you're a musician, producer, or podcaster, a well-designed audio interface desk setup is an essential tool for capturing high-quality audio.


.jpg)